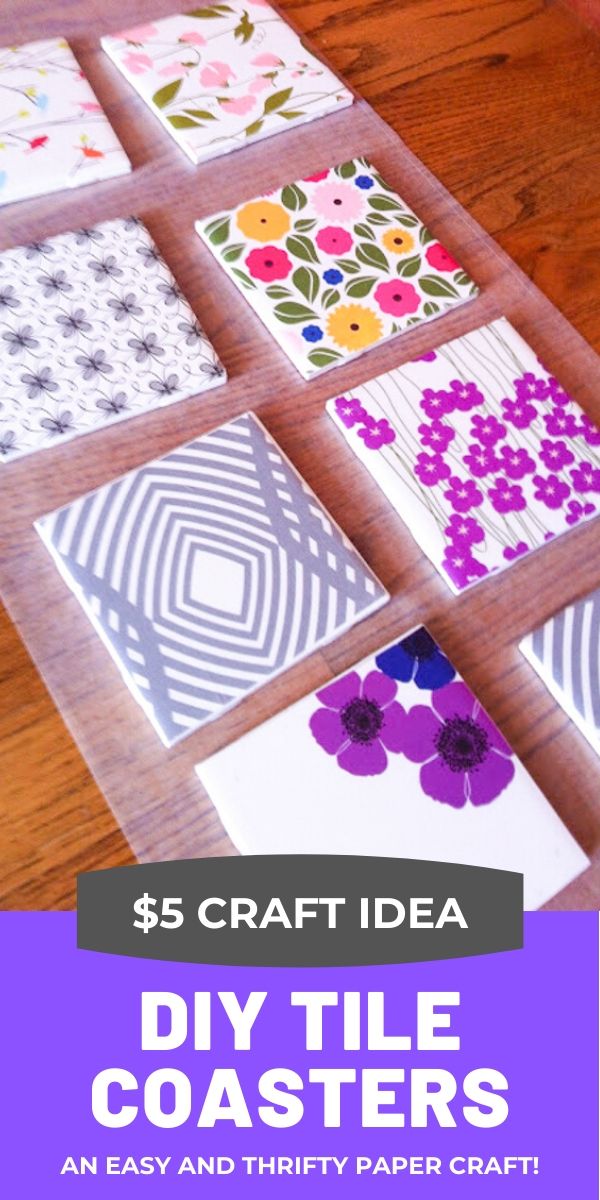
DIY Night: Tile Coasters with Scrapbook Paper
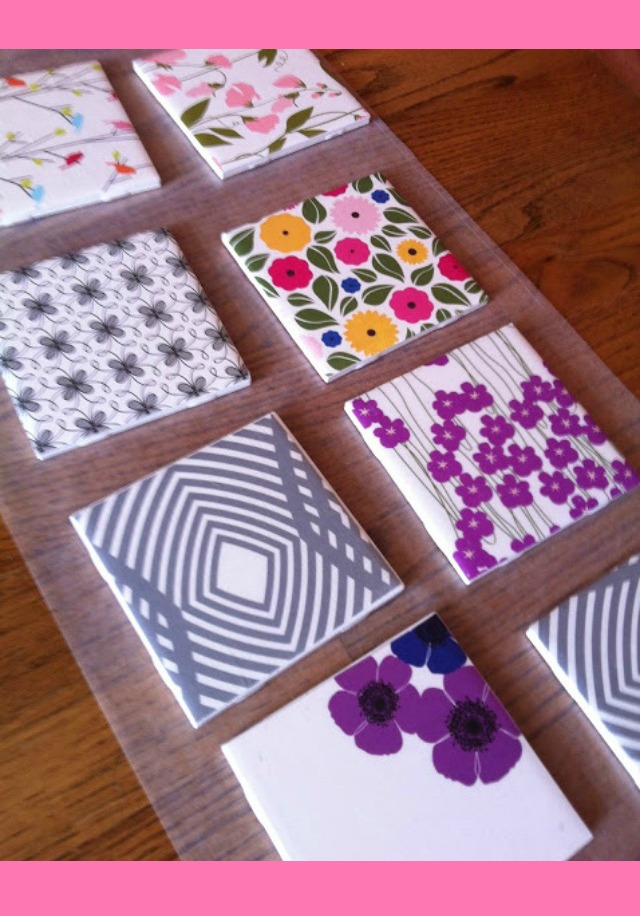
Check out what we made at our latest DIY night! These DIY tile coasters with scrapbook paper turned out to be the perfect craft because they cost next to nothing to make, required little effort, and turned out looking amazing. When I proposed doing this craft, several people said “Oh good, I was in need of some new coasters!”. Apparently, there are a lot of us living with sub-optimal or (gasp!) no coasters at all. 😉 If this applies to you, don’t fret. You can whip these up over a glass of wine!

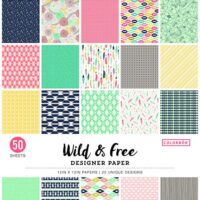
We found our inspiration for the coasters on Pinterest. They are essentially a ceramic bathroom tile decopauged with some pretty paper. We used a variety of pretty Snow and Graham papers for our coasters.
This post contains affiliate links. See my full disclosure.
Supplies for DIY Tile Coasters with Scrapbook Paper
- Ceramic tile
- Patterned paper
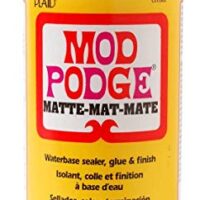
- Mod Podge
- Foam brush
- Mod Podge Clear Acrylic Sealer
- Felt
- Scissors
- Hot glue
How to Make DIY Tile Coasters with Scrapbook Paper
- Trace around the ceramic tile on your paper and cut out.
- Brush a coat of Mod Podge to the tile and then place the paper on top.
- Brush a coat of Mod Podge on top of the paper and let dry 15 min; repeat this step 2-3 more times.
- (Optional) Glue a piece of felt on bottom of the coaster to prevent scratching your table.
- Spray the coaster with a coat of water-resistant acrylic like Mod Podge Clear Acrylic Sealer. Note: this is an important step! If you don’t do this, your cold drink will stick to the coaster and leave a ring on it after you pry it off… I learned this the hard way!

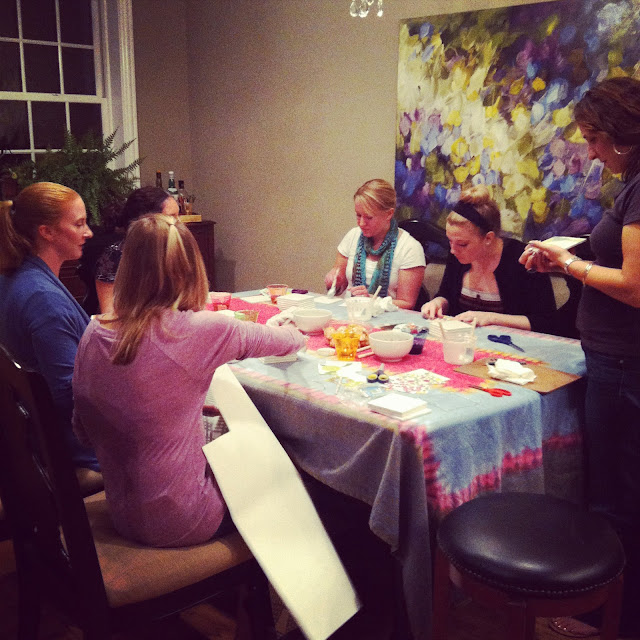
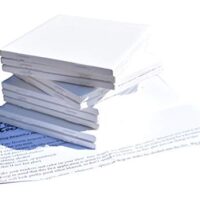
Some coasters waiting it out between coats of Mod Podge – the drying time allowed for ample opportunity to chat and enjoy some wine:
The crafty ladies in action:
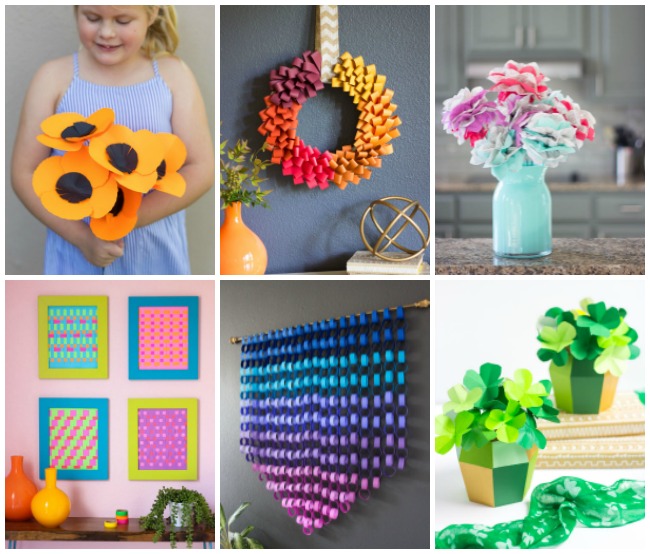
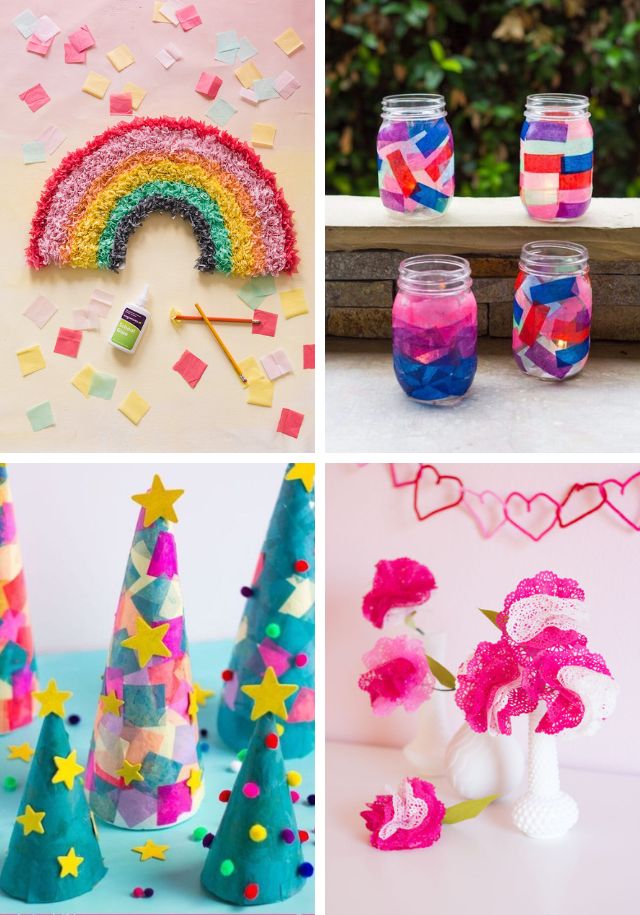
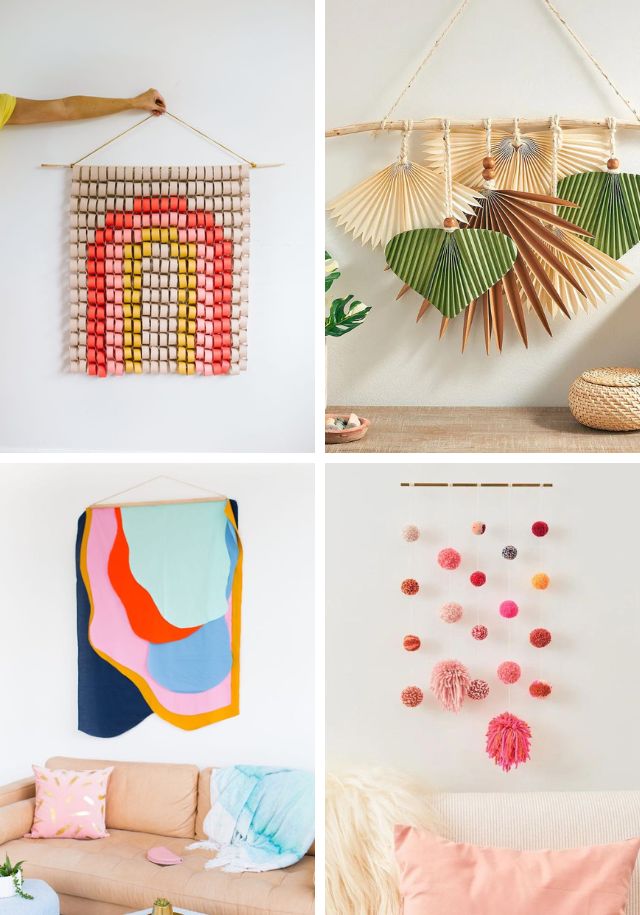
Love paper crafting?
Then don’t miss the rest of my colorful paper craft ideas!
Tile Coasters with Scrapbook Paper (PRINTABLE INSTRUCTIONS)
Transform ceramic tiles into stylish coasters with colorful scrapbook paper. This is a great craft project for a DIY night with friends!
Instructions
- Trace around the tile onto a piece of scrapbook paper. Cut out.
- Add a thin layer of Mod Podge to the top of the tile with a foam brush. Position the paper on top of the tile.
- Add a layer of Mod Podge on top of the paper. Let dry for 15 minutes and then add another layer. Repeat one more time.
- Once the Mod Podge is dry seal with a clear acrylic sealant spray.
- Cut a square out of felt and glue it to the bottom of the tile so it won't scratch your table surface.
Notes
Good quality wrapping paper works well for this too! We used pretty pattern wrapping papers from Snow and Graham. A set of these tiles makes a great handmade gift!
Recommended Products
As an Amazon Associate and member of other affiliate programs, I earn from qualifying purchases.

These coasters are a geat idea. I can’t wait to try it!
Thanks Pamela! I hope you do try them!
Would you follow these same instructions for stickers instead of paper?
Yes I would! The Mod Podge should seal the stickers just like paper. Good luck!
My mugs and glasses stick to the Mod Podge. Does this happen for you as well? I sprayed with an acrylic sealer, but it didn’t help. Just bought some Triple Thick spray. Maybe I’ll try that to see if will help. In the meantime, any ideas would be most gratefully appreciated. <3
Hi Jax, how did the Triple Thick spray work for you? I have had that stickiness happen with certain mugs but not others.
Hiya I would love to try them but I can’t get the sealant where I live is there anything else I can use instead
Hi Nikki, that is a good question. Any type of spray acrylic sealant should work. You can find them at a hardware store in the paint aisle. Hope that helps!
Do you think my residents could color a picture and then mod podge it? Like a coloring picture from a coloring book they colored with markers?
I think that is a fabulous idea! A couple layers of Mod Podge (decoupage glue) should seal the picture to preserve it.